May 9, 2010
Backyard Foundry
E-Zine
The Rabbitry Plaque
This Plaque was a fun project. I made it for my wife who has a few rabbits that she loves. Any blue words are links that you can click on if interested.
NOTE: Metal casting is dangerous so remember to be safe in all you do and don't blame me if you hurt yourself!
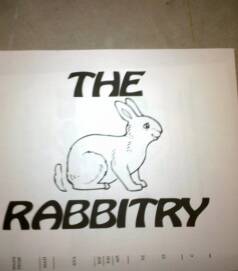
Here is a picture of the paper I started with. I glued this onto a piece of foam and cut it out with a utility knife...because I couldn't find my exacto knife...I hate it when I can't find my tools!!!
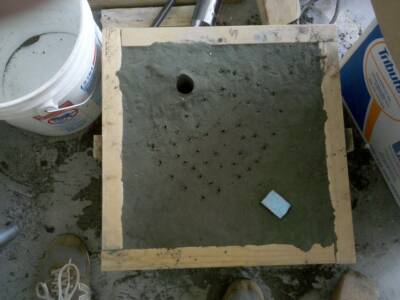
Here is the pattern imbedded in my K-Bond sand. The blue rectangle is the sprue and the large hole is a riser. The little holes are lots of vent holes that I put in with a wire. I used oil bonded sand because I have had problems getting a plaque to fill in the past if I just used loose sand.
Here is a video of the pour....PLEASE NOTE! I appologize for my attire...or I should say, lack of propper safety attire...but at least I had my gloves and face shield on!
Here is a video of the shake out.
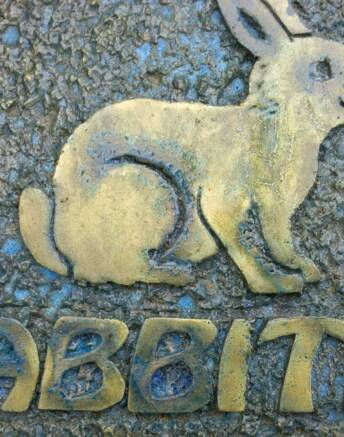
Here it is after I ran over it with a wire brush
OK Now the interesting part...I played around with some patinas on this plaque. I wanted to put a greenish antique patina on it. So I ordered cupric sulfate and ammonium chloride from science company.com for the antique green number 5 recipe shown on their site. Before I got the chemicals, I looked up some household formulas on the net. This first picture is one that I put table salt and vinegar on it. It made it turn rather blue.
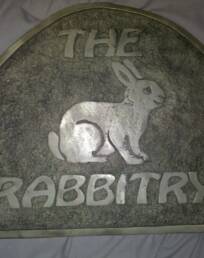
But, My wife didn't like it! Too green! I was afraid of that... so I sand blasted most of the patina off and
re-laquered it. I like it both ways.
Well, that's all Folks! If you enjoyed it...leave a message on this page in the guestbook so we can all see who has been here! CLICK HERE to see my new guessing game site.

Please sign my guest book....This is a public guest book, so you can see comments other people left.
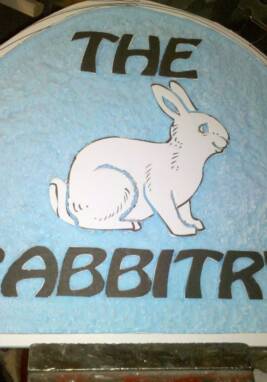
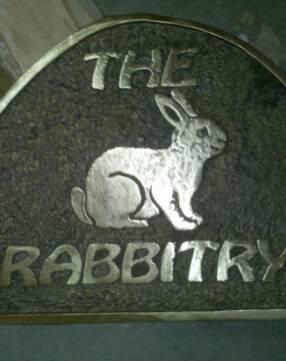
Then, I put it in a plastic bag with a cup of ammonia in it and it turned it this nice shade of blue...pretty, but not what I was going for.
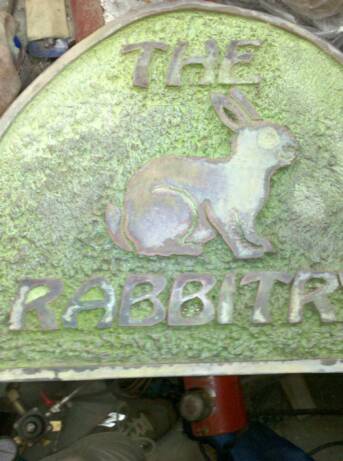
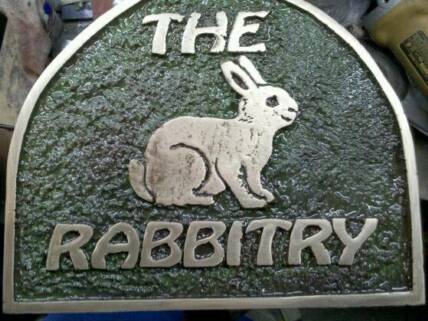
I got the chemicals and tried to apply them with a torch and sprayer...It didn't work very well...It just turned black. I think I got the metal too hot. So I put the plaque in the oven and heated the patina on the stove. Then I carried both outside to apply. After two times, I had what I wanted.
Here it is as cut out. I leave the paper on when I put the foam pattern into the sand...It makes a nice smooth surface and the paper turns to carbon.
Here it is after I sand blasted it
I talked to Amy who runs the Home Foundry and Casting group at Yahoo and she suggested using gun bluing for a base before applying the patinas. The next picture is that result.
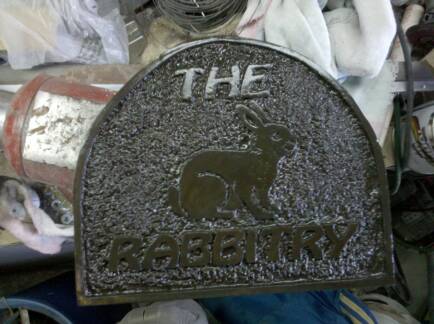
Here it is with the lettering and border shined up and a laquer (increlac) applied.

That's me!
Click here to see my guessing game site


